support@plankton.mobi


3. Reports
Note: Some of the reports may contain massive amounts of data and it is suggested to always keep the start & end date parameters to be within a month of each other. Also to try and avoid drawing data heavy reports on busy days.

On the Reports page, you’ll find three report tabs: Visual, Export, and Interactive. Access these tabs by clicking on the corresponding buttons.
To access the reporting page you can click on the Reports button in the side menu.
3.1 Visual Reports
3.1.1 Summary Report
This report provides an overview of the event’s total ticket sales by type, daily and monthly sales, ticket scans, and payment types.
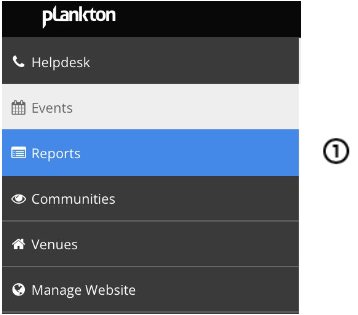
- Click “Reports” in the side menu to display the Reports page.
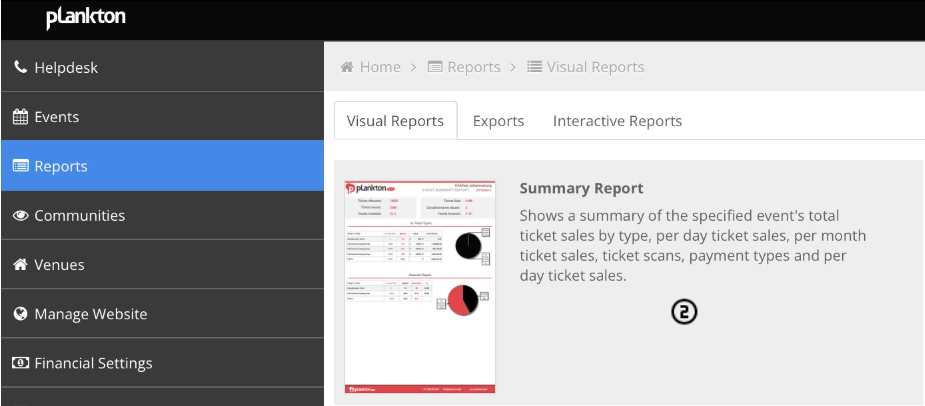
2. Click “Summary Report” to access the summary report download page.
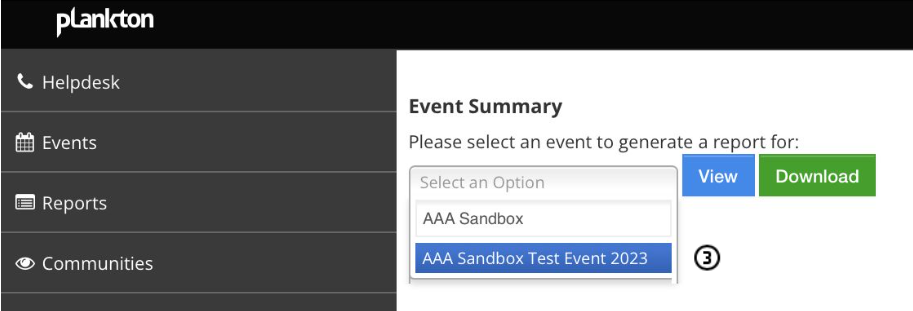
3. Select the desired event by typing its name in the text field and clicking the correct event in the displayed list.
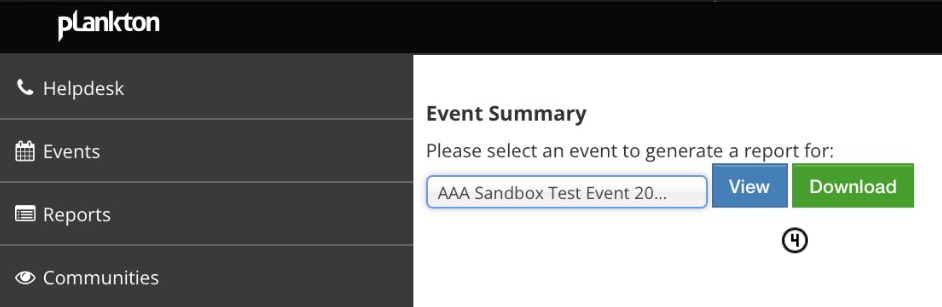
4. Click “View” to preview the report online in PDF format or “Download” to save a PDF version directly to your computer.
3.1.2 Daily Report
This report displays the event’s total ticket sales for a specified date and time period
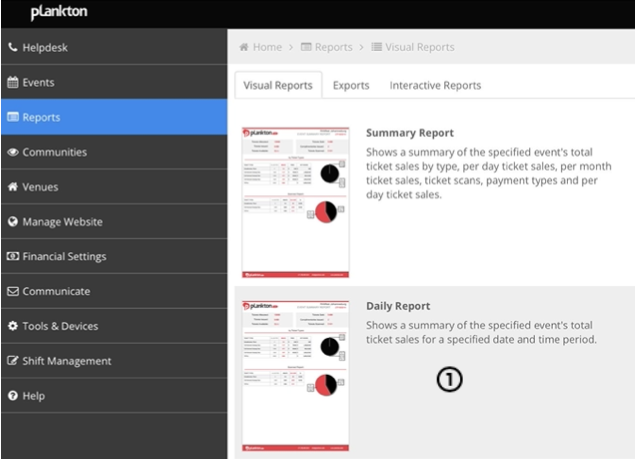
- Click “Daily Report” to reach the daily report download page.
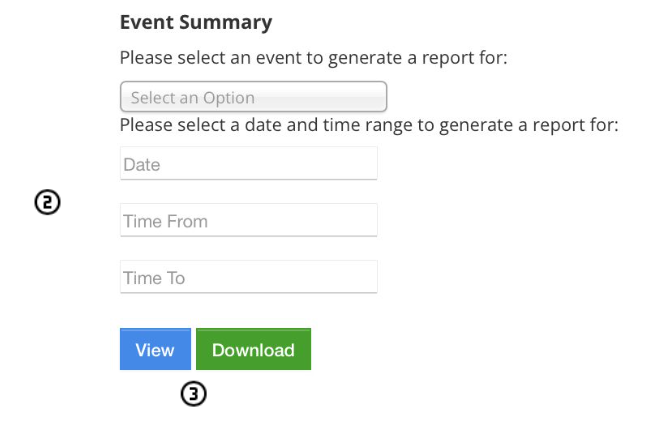
2. Select the event, choose the date, start (time from) and end (time to) times.
3. Click on “view” to view the report or click download to download an PDF version of the report.
2.2 Export Reports
2.2.1 Customer Info Report
List of Transactions for a specified event.

- Click on download next to “Customer Info” to access the Customer Info Report download page
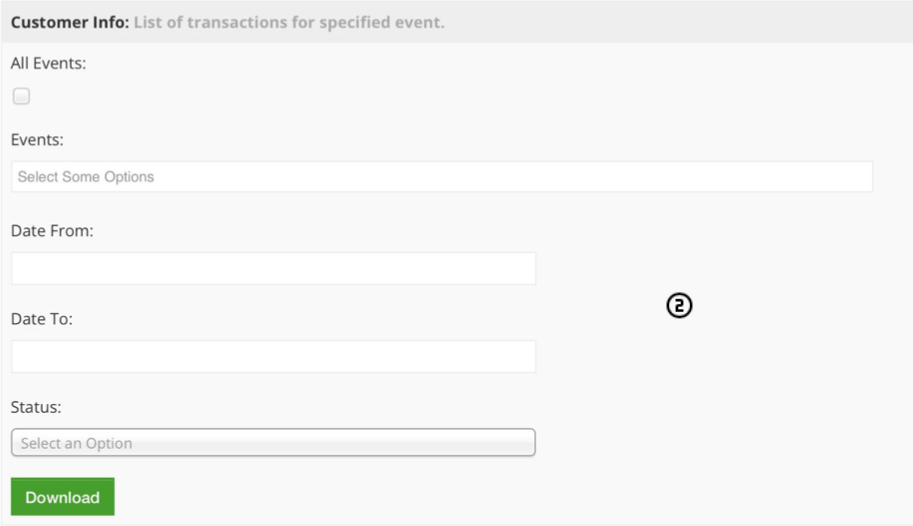
2. Choose an event from the dropdown list under “Events” or type in the text field to narrow down the list, then select the start date (Date From) and end date (Date To).
2.2.2 Detailed Bookings Report
List of Bookings for a specified event

- Click on download next to “Detailed Bookings” to access the Detailed Booking Report download page
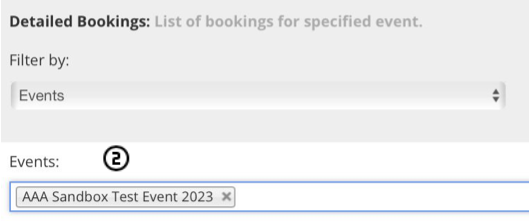
2. Choose an event from the dropdown list under “Events” or type in the text field to narrow down the list.
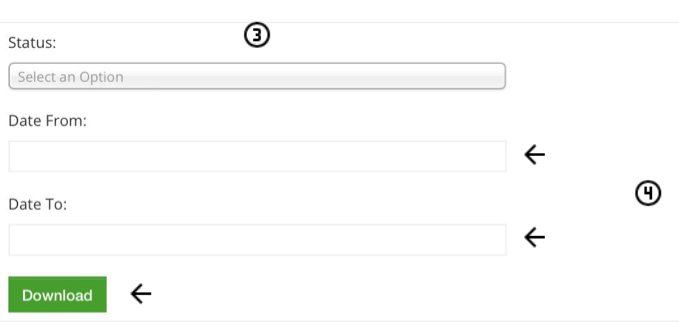
3. Select a specific status from the “Status” field:
- Pending: Bookings that have not been completed or paid for.
- Failed: Bookings that have failed due to payment issues, time etc.
- Refunded: Bookings that have been refunded.
- Settled: Bookings that have been successfully completed and paid for.
- Expired: Bookings that have exceeded the allowed time limit while waiting for payment confirmation.
4. Now select the start date (Date From) and end date (Date To), then Click “Download” to generate an Excel report.
2.2.3 Point of Sale Report
View sales summary for any given Point of Sale user

- Click on download next to “Point of Sale” to access the Point of Sale Report download page.
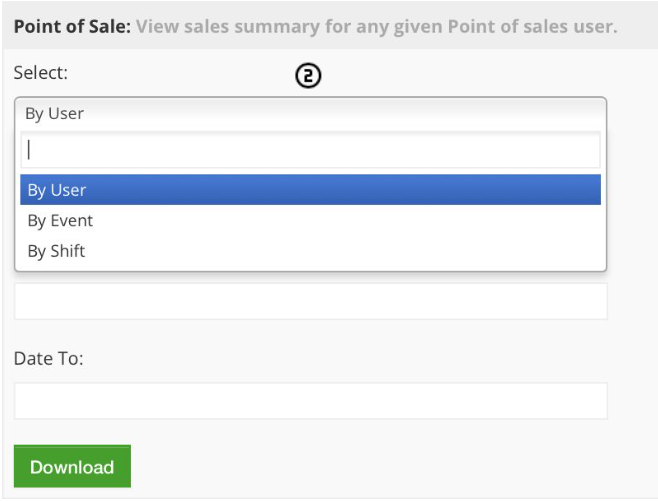
2. Choose between two options: “By User” (search by email address) or “By Shift” (search by shift number starting with “EOD”)
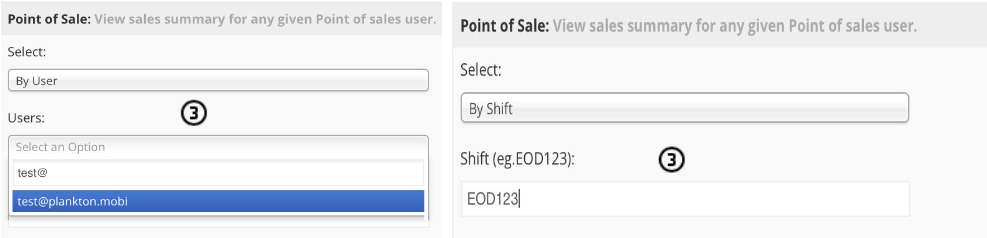
3. If “By User” is selected, enter the user’s email address in the “Users” field and select the correct email address. If “By Shift” is selected, enter the shift number in the “Shift” field and select the correct shift.